


A well-designed booth isn’t just about looking good—it’s about grabbing attention, guiding customers through your space, and making it easy for them to buy. The way you arrange your products, signage, and checkout area can make the difference between a bustling booth and one that people walk right past.
So how do you create a booth that pulls customers in and keeps them engaged? Let’s break it down!
💡 Want free booth layout examples? Scroll down and sign up for our email list and get a free downloadable guide with sample booth setups, including my personal modified Z layout and outer L setup!
1. Booth Layout: The Flow That Sells
The way customers move through your booth impacts sales. I personally use:
➡️ A modified Z layout – This naturally guides customers through, ending near checkout.
➡️ An outer L setup – I use this for corner booths when I have more space to work with.
How It Works
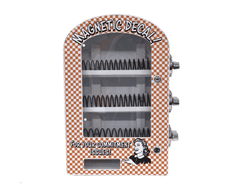
- Best-selling items go in the front to catch attention. My cigarette cases and sticker wall bring in the most revenue, so they get priority placement.
- The big pink sticker wall is key—it’s our biggest revenue driver! It’s tall, visible from afar, and lets multiple people browse at once.
- A small standing spinner out front (when allowed) lets shy customers browse pill cases and enamel pins without committing to stepping inside the booth.
💡 Free-standing displays work best for high-traffic items. My sticker wall upgrade made a huge difference in sales—before, we used small tabletop spinners, but now, customers can see stickers from a distance and browse more comfortably.
2. Using Vertical Space to Stand Out
Taking advantage of vertical space makes your booth more visible and allows you to display more inventory.
- Wire grid walls – Our latest addition! These hold tote bags, pill cases, art prints, T-shirts, bolo ties, and more.
- Hanging signage – A large branded sign helps make your booth visible across the venue.
- Stacked shelving & pegboards – The sticker wall and grid walls keep inventory organized without taking up table space.
💡 Pro Tip: If you need to consolidate inventory, grid walls are a lifesaver. I can move products around and fit more on display without overcrowding tables.
3. Signage & Pricing: Make It Obvious
People hesitate to ask for prices—make it easy for them!
✅ Big price signs – We have large, clear signs for quick visibility.
✅ Deals & bundle pricing – Giving customers a reason to buy more works wonders. Our best-sellers:
- 4 for $10 sticker deal (Almost everyone takes this one!)
- Buy 3, get 1 free on items over $5
💡 Pro Tip: People love a "goal" when shopping. If they see a deal, they’ll keep adding items to hit that discount threshold.
4. How I Make Checkout Fast & Secure
Checkout should be quick and stress-free for both you and your customers.
✅ Cash stays in a fanny pack – No bulky cash boxes to store or risk getting stolen.
✅ Shopify POS Go (RIP) – I loved these because multiple team members could use them without needing an iPad.
✅ Clear payment options sign – A simple "We Accept Cards, Venmo, & Cash" sign removes confusion.
💡 Pro Tip: Having multiple payment options keeps sales flowing. If someone’s low on cash, they’ll still buy if they see you take cards!
5. Branding: How I Make My Booth Unforgettable
Customers should recognize your booth instantly. Here’s what makes mine stand out:
- Color! Our branding is strong, with bold, consistent colors that make us memorable.
- Matching signage, price tags, and table setup to keep everything cohesive.
- A future goal: a custom tent for an even stronger brand presence.
💡 Pro Tip: A booth that looks put-together and professional builds trust with customers—people are more likely to buy when your branding is strong and cohesive. Show them you put in effort to be there.
6. A Trick That Skyrocketed My Social Media Following
One of the best things we ever did was offer a freebie in exchange for social media follows.
💡 Our strategy: A sign that says "Follow us for a free lighter!".
- Everyone wants a lighter.
- It only costs us ~$0.25 per unit.
- It drives a ton of new followers who often turn into customers.
💡 Pro Tip: If you’re trying to grow your audience, offer a cheap, fun incentive for follows. It works!
Download My Booth Layout Examples For Free!
Want to see real-world booth layouts that work? Sign up for our email list and get a free downloadable guide with booth setup examples—including my modified Z layout and outer L setup!
A well-thought-out booth setup increases foot traffic, keeps customers browsing longer, and boosts sales. The key is a smart layout, vertical displays, clear pricing, and strong branding.
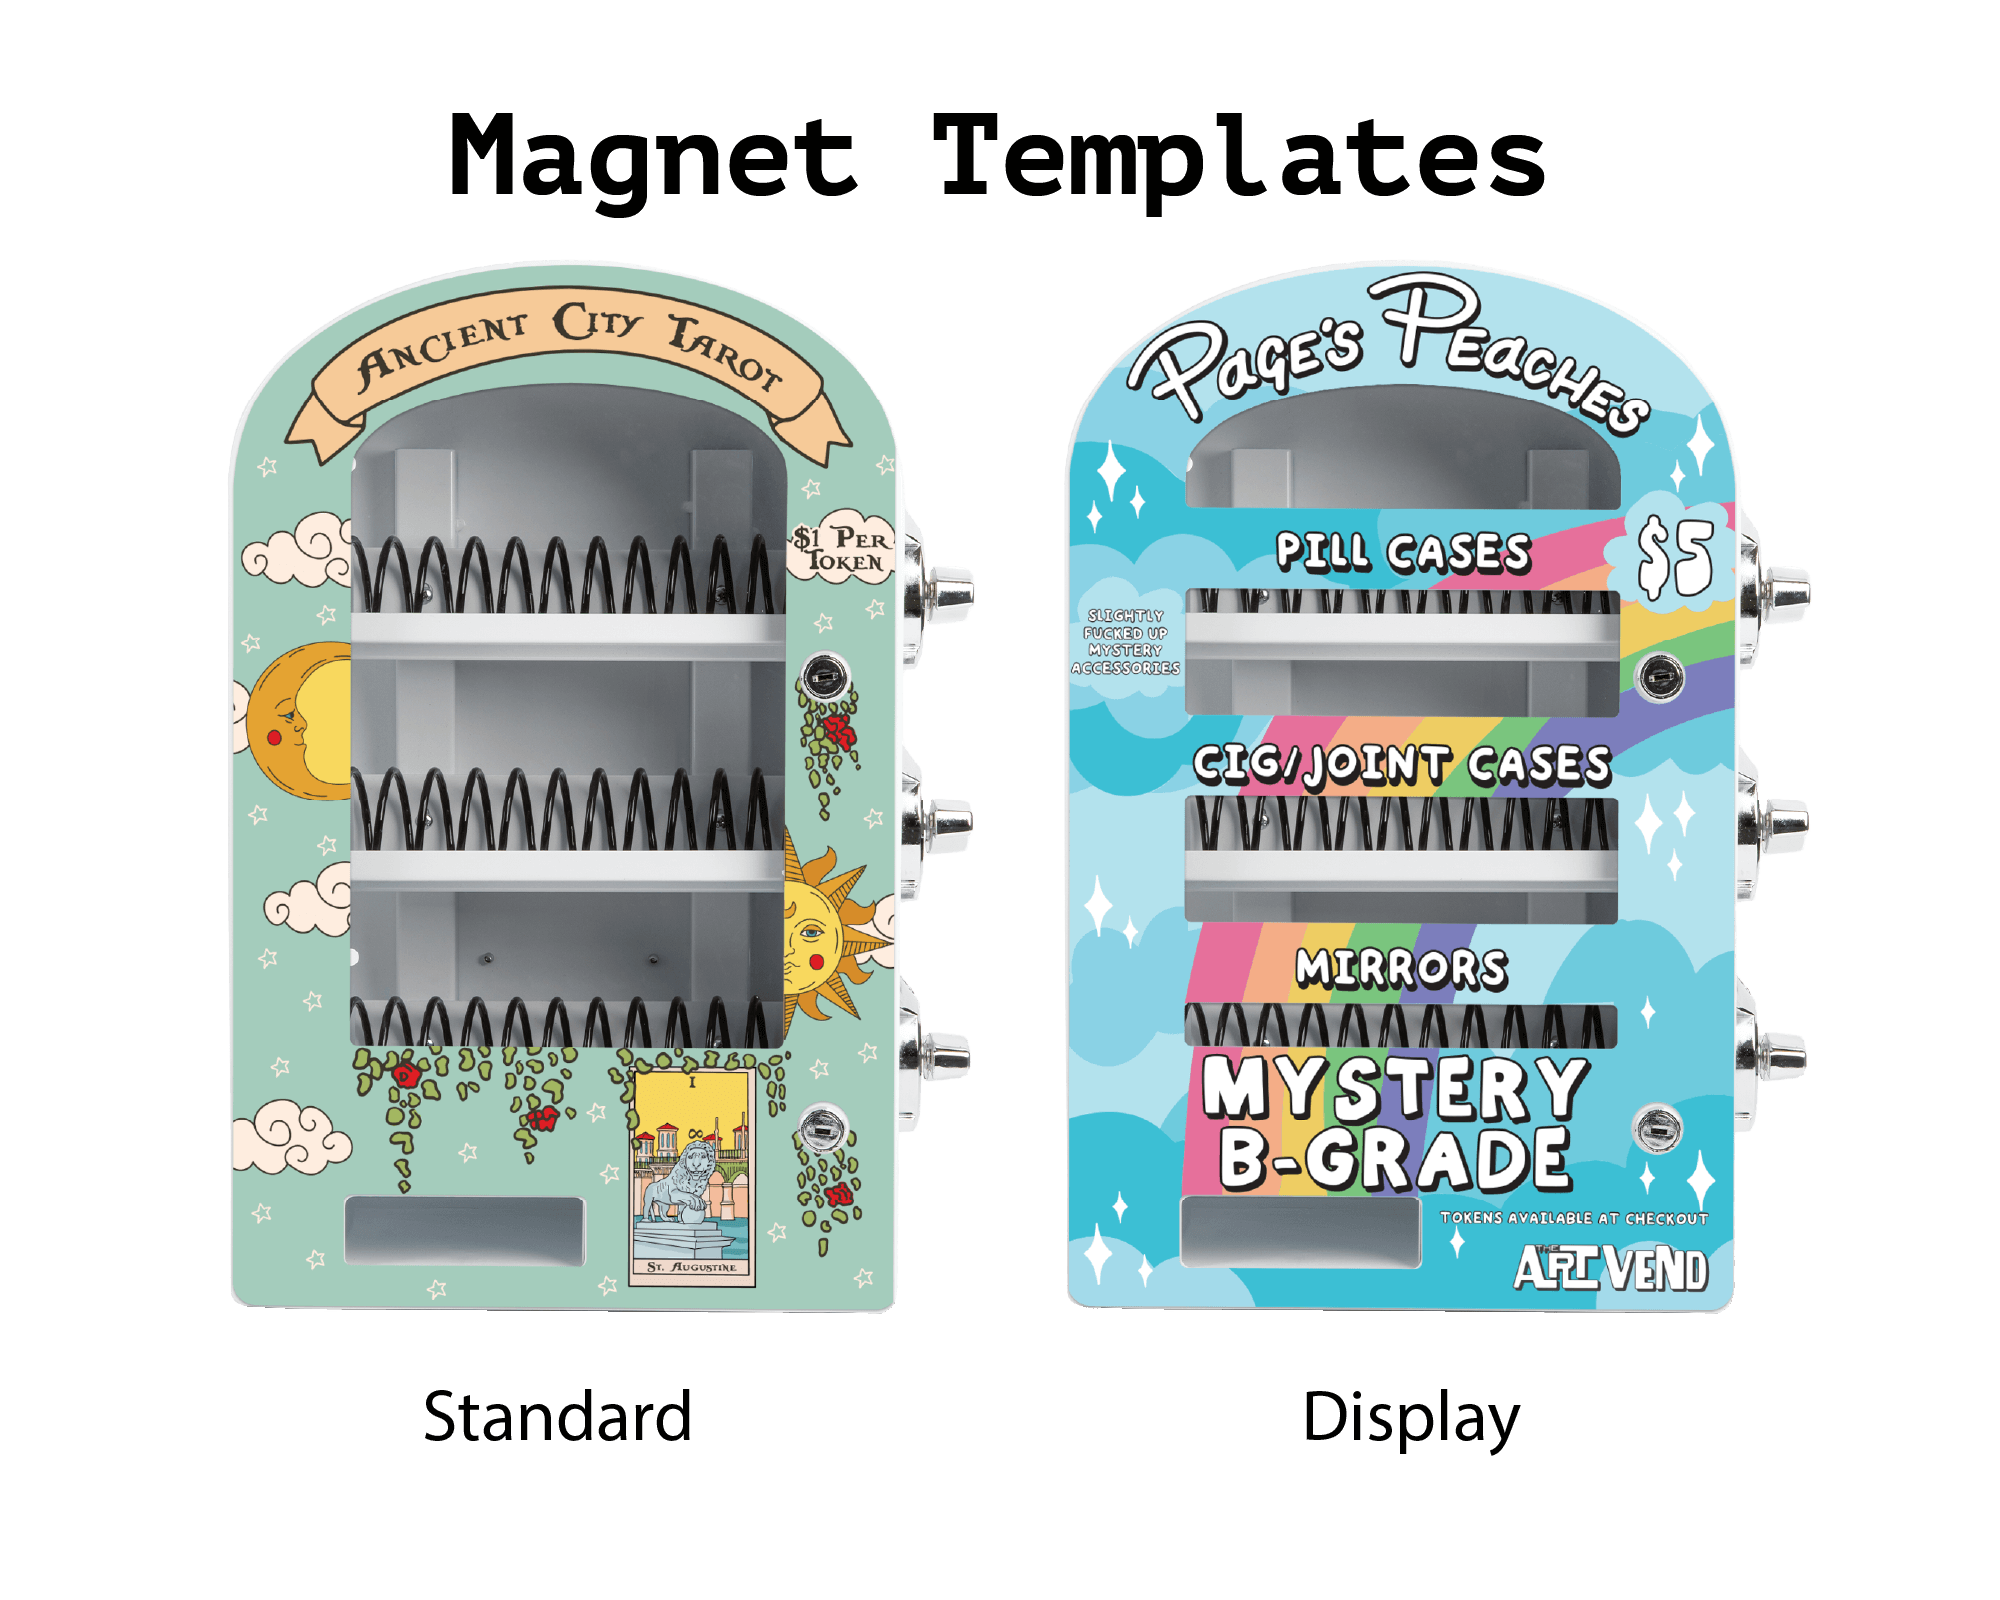
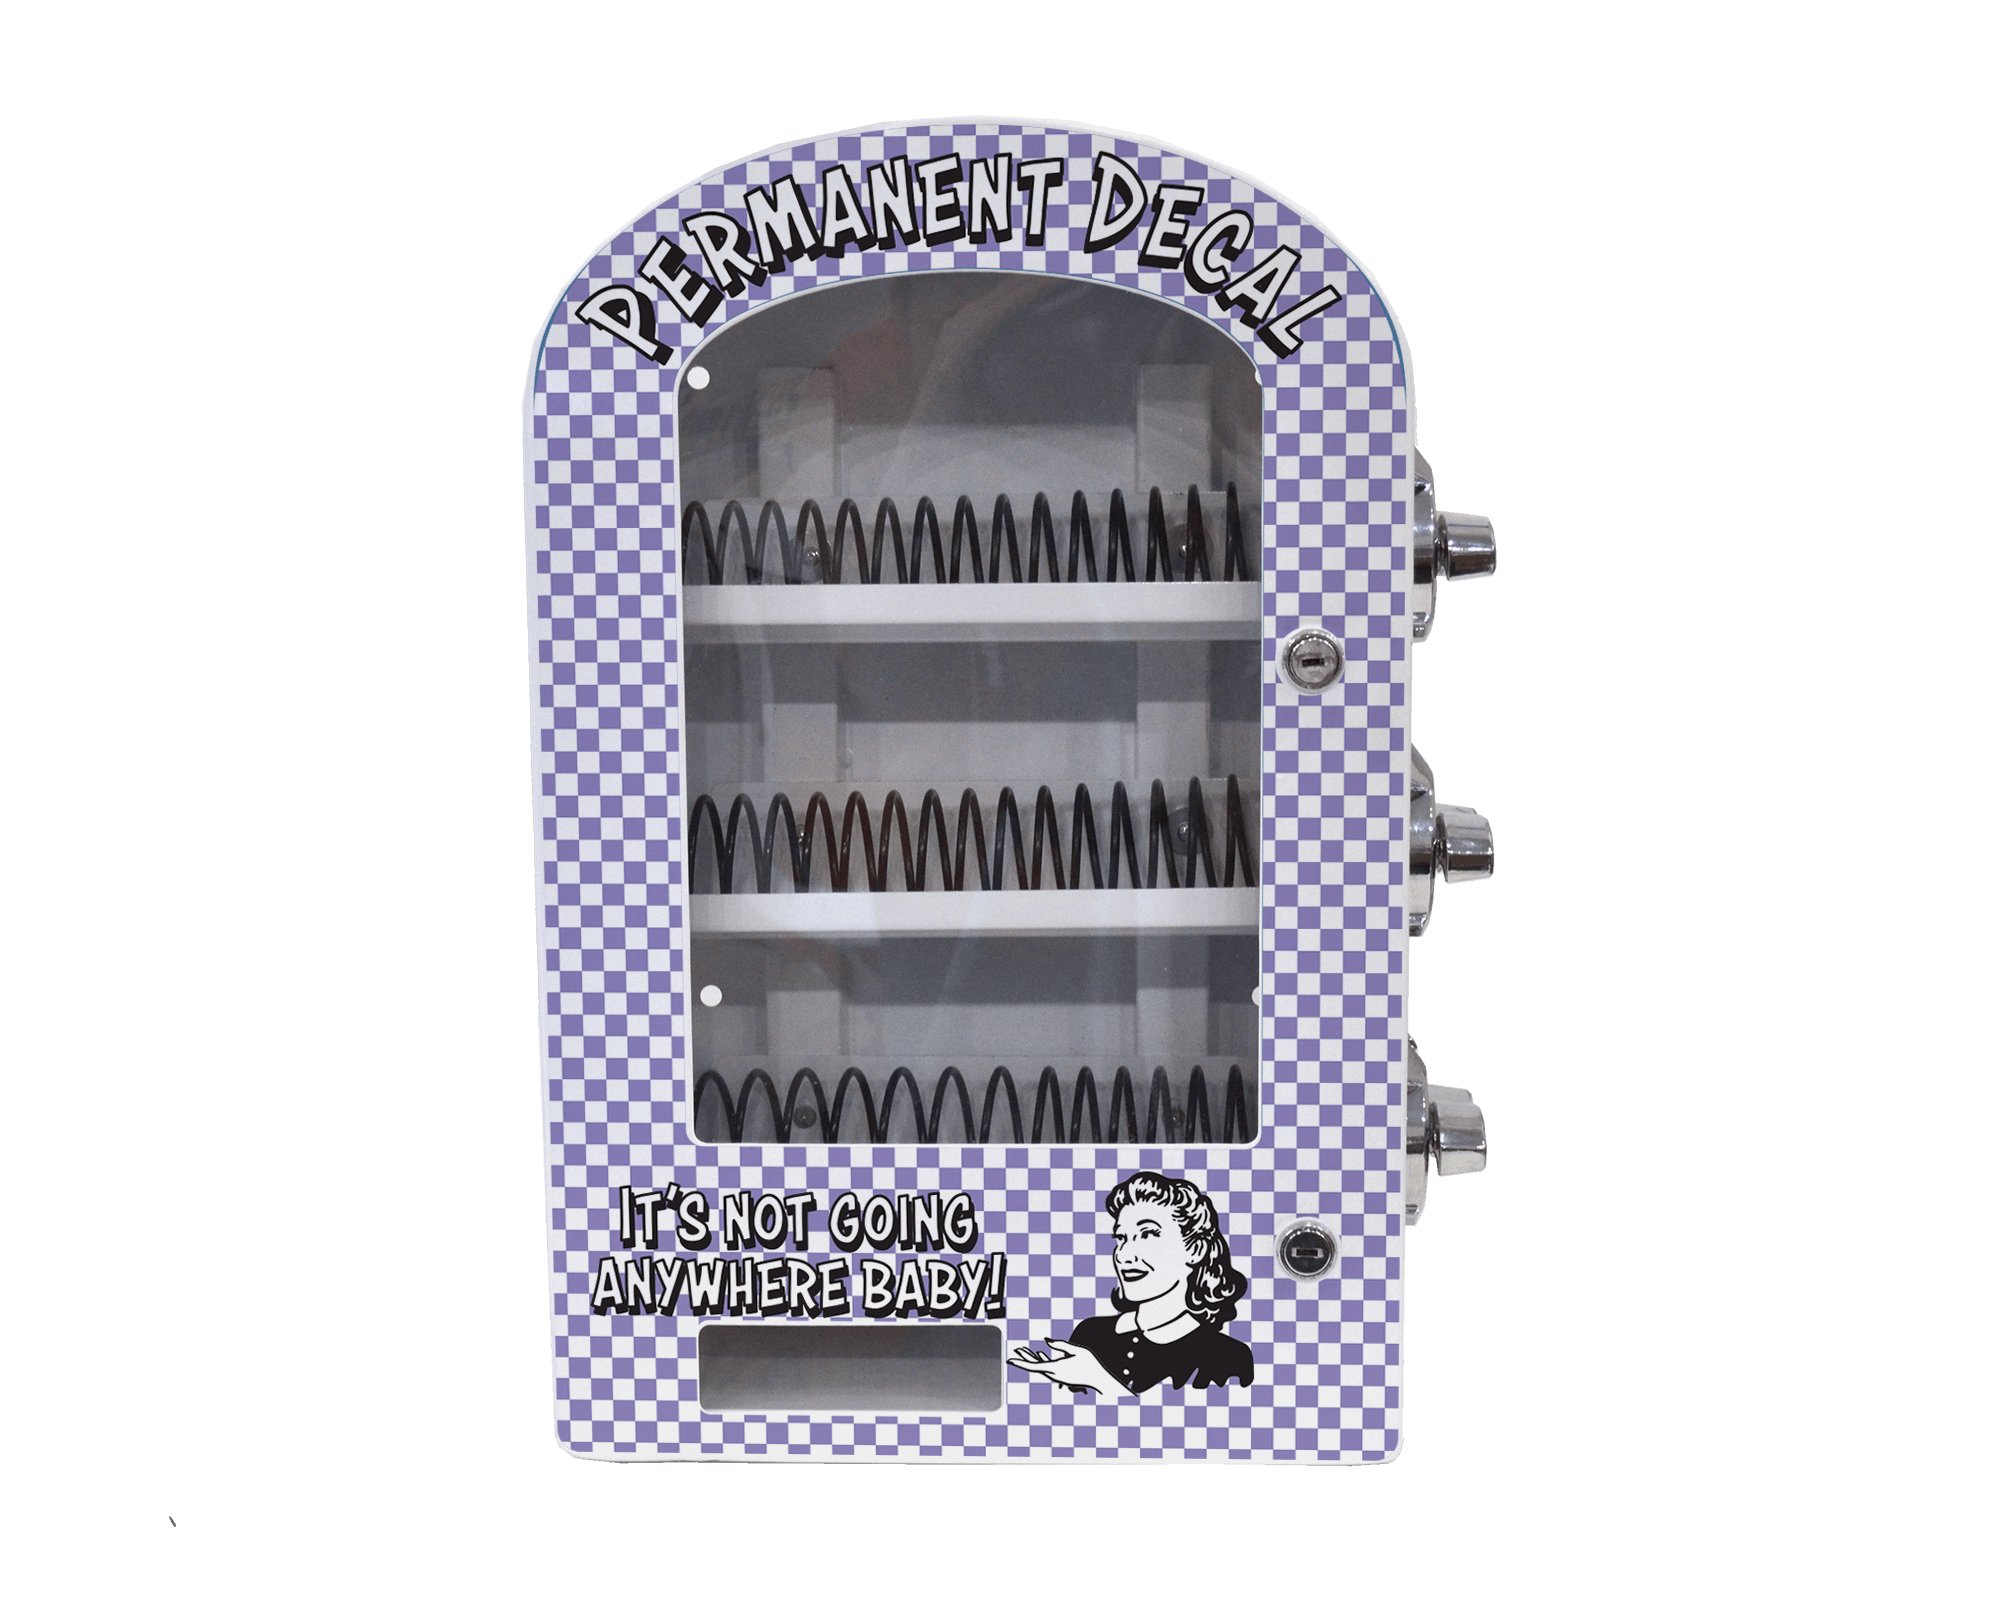
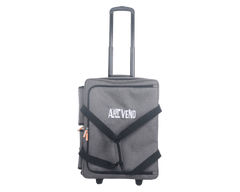
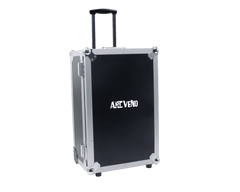
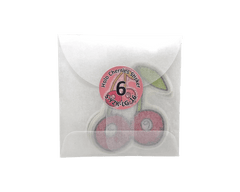
Looking for a creative way to take your market setup up a notch? An ArtVend vending machine attracts customers of all ages. Check out The ArtVend and start vending your art today!
SEO Keywords:
- Craft show booth setup
- Art market booth layout
- How to set up a booth at a craft fair
- Z layout craft booth
- How to attract customers to your booth
- Artist vending machine
- Small business craft fair tips
- Best booth setup for craft shows
- How to sell art at markets
- Booth display ideas
Leave a comment