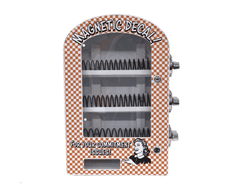
Applying your custom decal can be super easy using the "wet" method. The supplies you need are:
- Spray bottle of Windex/ spray bottle of water with a drop of dish soap/ spray bottle of Rapid Tac
- Gift card/ Squeegee
- Old T-Shirt/ Microfiber cloth
How to apply your decal
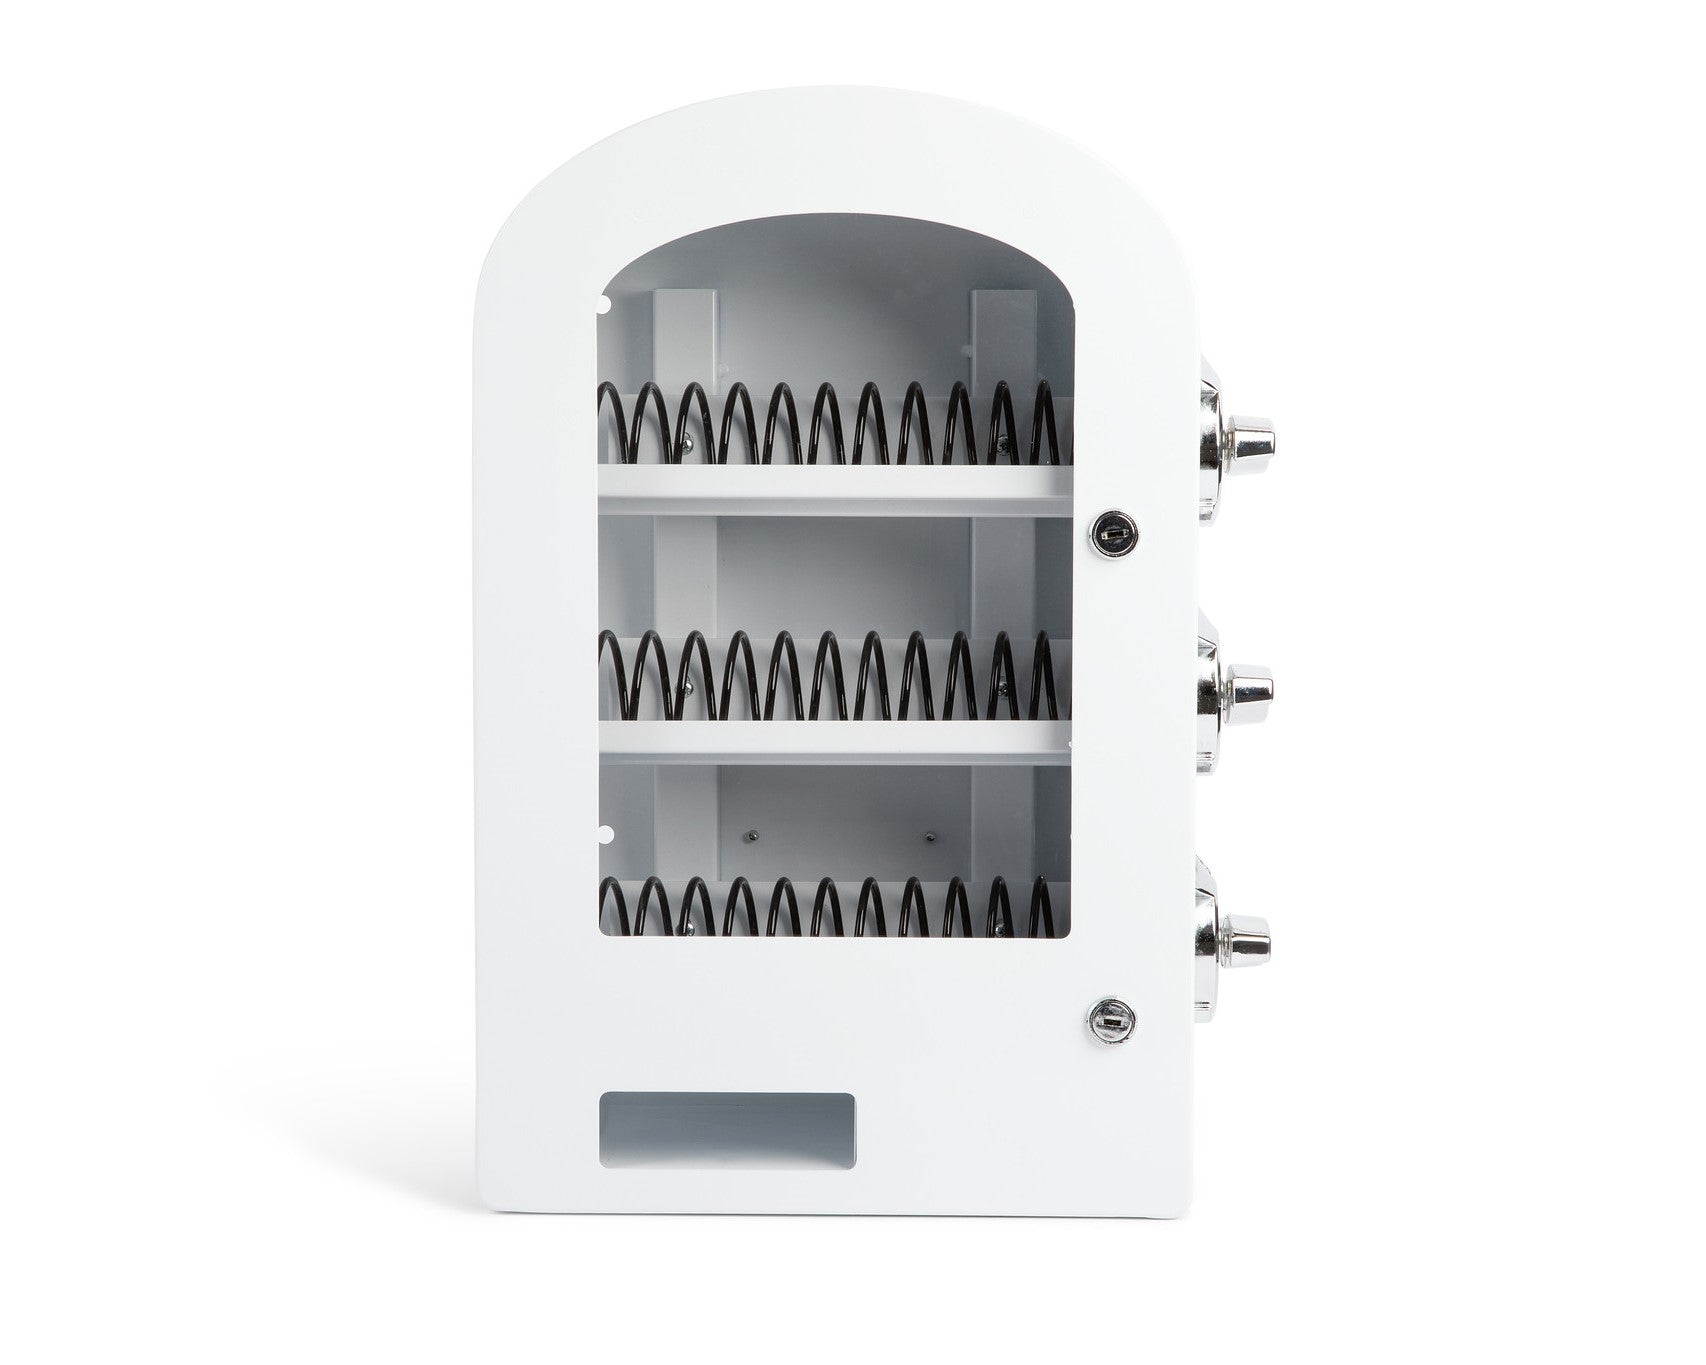
- Clean off the front of your machine so that there is no dirt.
- Spray machine door generously with your choice of Windex, soapy water, or Rapid Tac.
- Peel your decal off the backing paper and spray sticky side generously.
- Place decal on your machine. You will know you sprayed it enough if it can move around freely.
- Align your decal to the machine. It is MOST IMPORTANT that the decal is placed properly around the locks. If placed too close to the locks, your decal will not lay flat.
- Once your decal is flat and aligned, use your squeegee/gift card to slowly push all the liquid out. Your decal must be flat. Push all bubbles of water out. Your decal will move around until it is fully drive.
- Once all the liquid is pushed out and your decal is flat against the machine, leave to dry for 24 hours.
- Once your decal is dry it is permanent. Make sure your decal is properly placed before you start pushing the liquid out.
Any linked products include an Affiliate link which we receive a commission for any purchases made.



Leave a comment