

Your ArtVend decal isn’t just for branding—it’s a crucial tool for guiding customers, answering their questions, and making your machine stand out. Whether you want to create a whimsical, art-focused design or a clear, easy-to-read layout, here’s how to design the best ArtVend decal for your vending machine.
1. Define Your ArtVend’s Goal 🎯
Every artist should consider what they want their ArtVend to achieve. Is it about creating a fun experience, increasing sales, or reinforcing your brand? Most likely, it’s all of the above!
✅ Essential info to include:
- Pricing (one of the most common customer questions).
- What’s inside (mystery, product types, or specific items).
- Your brand name (so customers remember you!).
💡 Tip: Your ArtVend should have personality! A great decal makes the vending experience even more exciting and artistic.
2. Prioritize Key Placement Areas 📍
Customers will naturally look at certain areas first, so place the most important details where they’re most visible.
Top of the Machine – Most Important Info
✅ The first place people look, use this for your business name or key product details.
✅ If you’re vending mystery or B-grade items, list what’s inside here.
Side of the Machine – Pricing or Instructions
✅ Place pricing on the left, right, or near the retrieval area.
✅ Some vendors also include step-by-step instructions or social media handles here.
Retrieval Area – Branding & Final Info
✅ A great spot for your logo, website, or a fun message.
✅ Since customers interact with this spot last, use it for a call to action like "Follow us for more!"
💡 Tip: The more intuitive your layout, the easier it is for customers to understand your ArtVend at a glance.
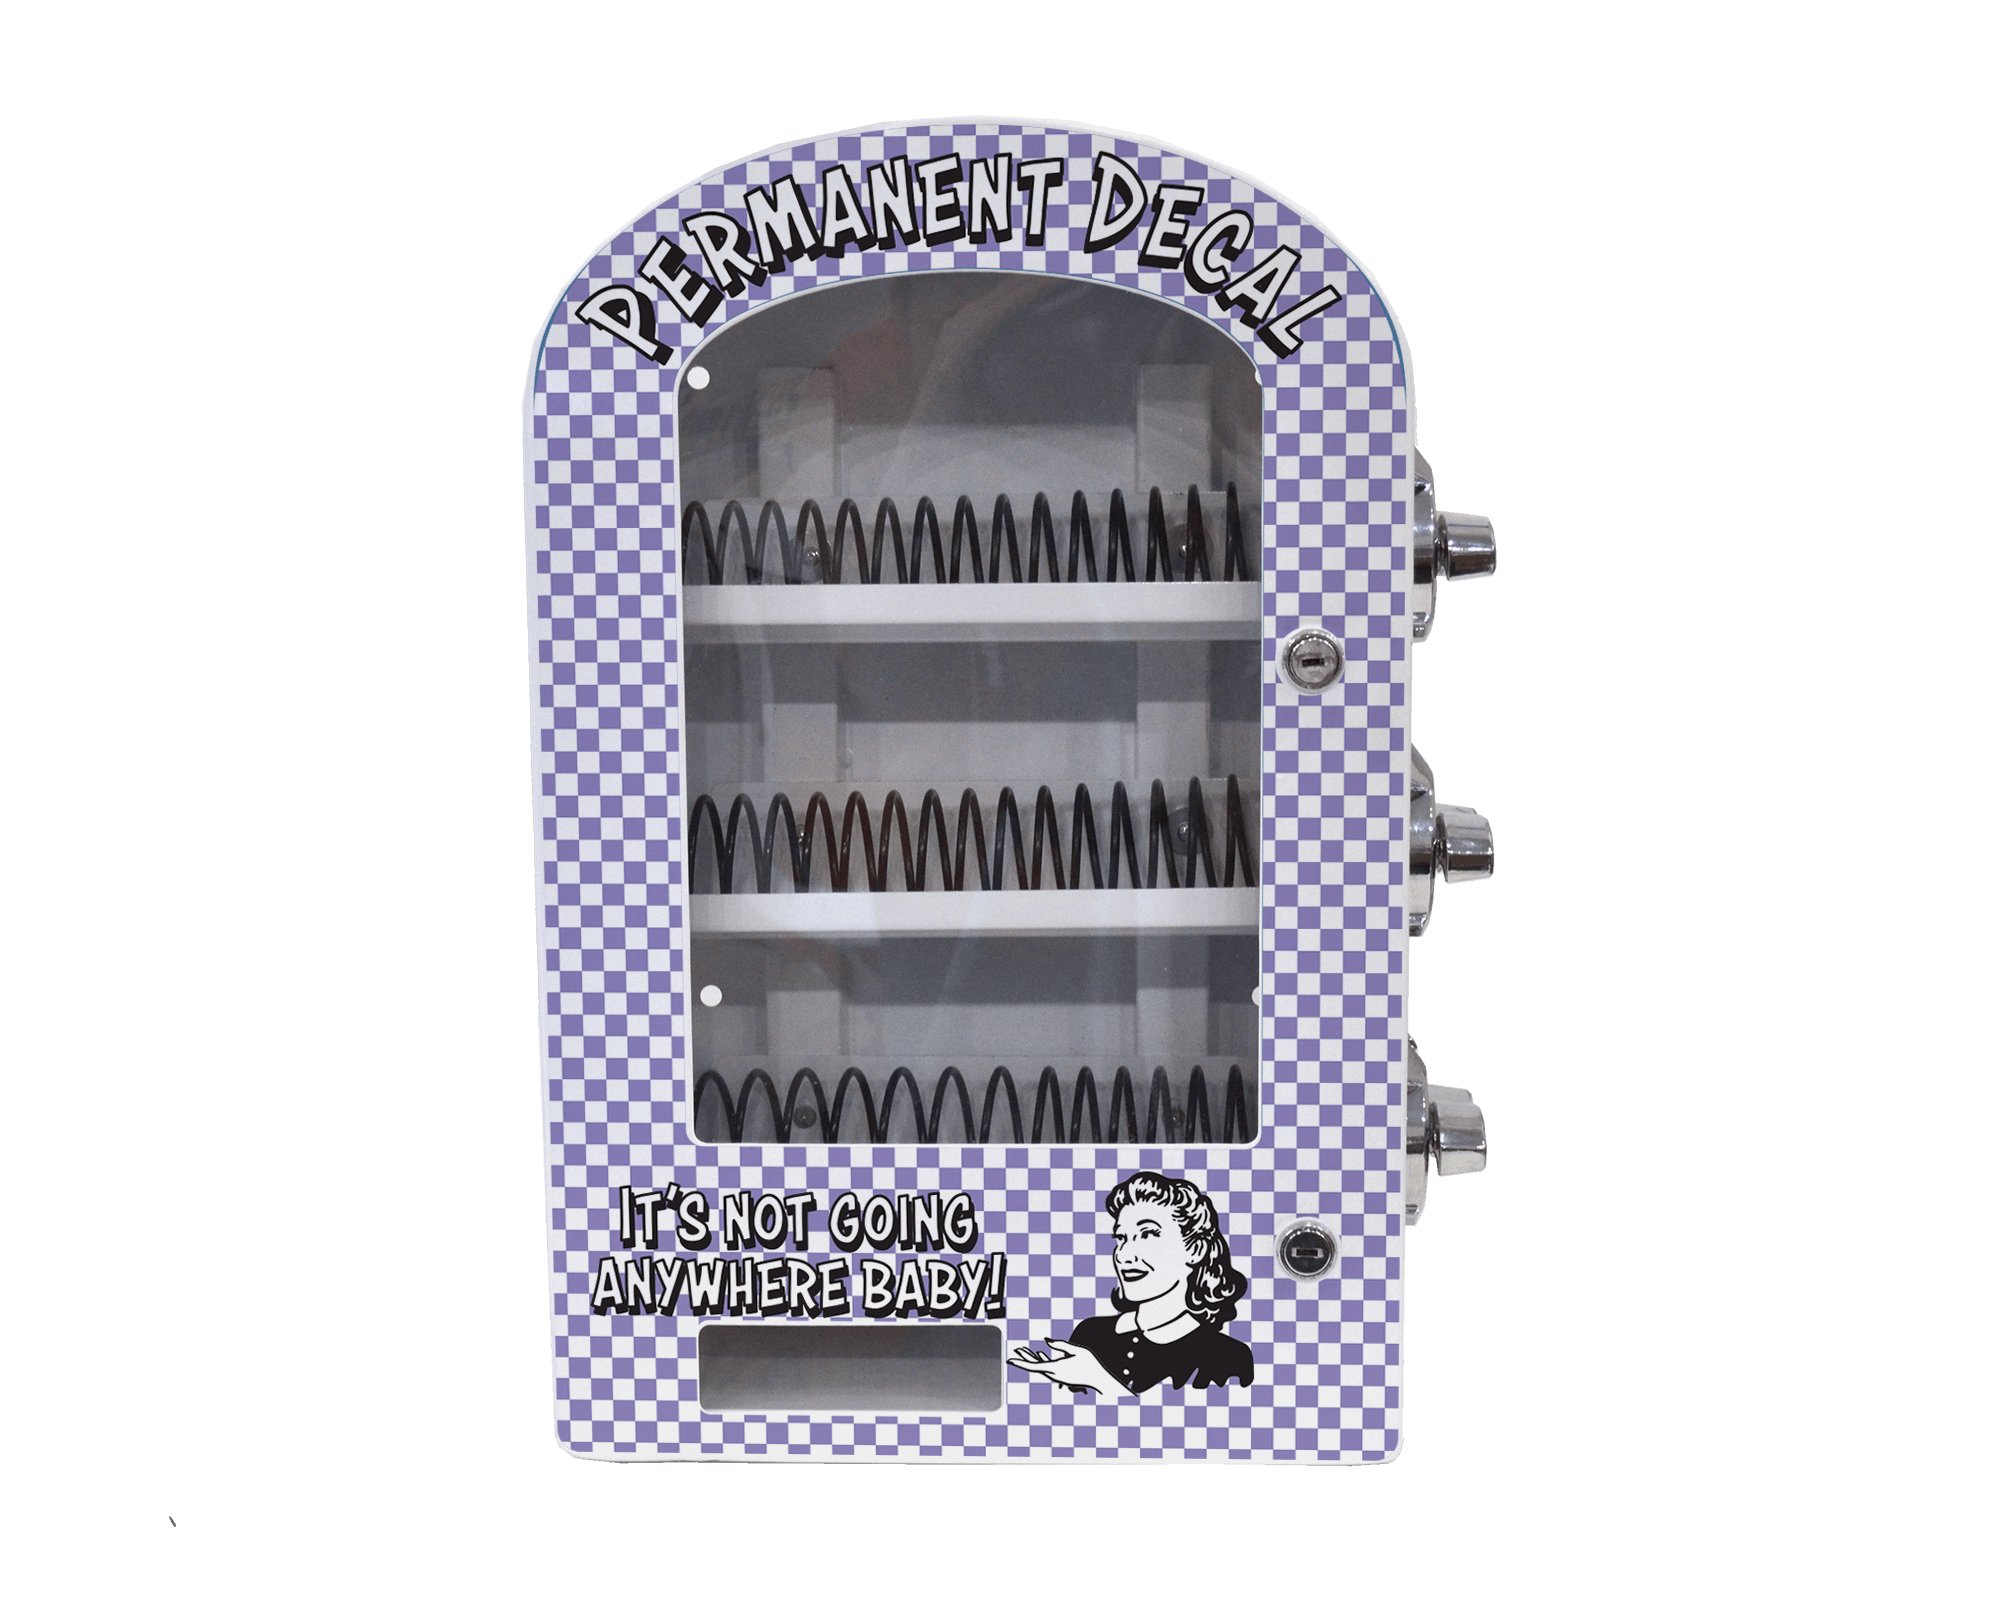
3. Make It Eye-Catching & On-Brand 🎨
Your ArtVend is a mini billboard for your business, so make sure it reflects your brand style and colors.
✅ Stick to your brand colors for consistency.
✅ Bright, bold designs help attract curious customers.
✅ A custom-cut decal can make your ArtVend stand out even more.
💡 Tip: Your decal should be a work of art, but also readable! Avoid overcrowding it with too much text or tiny details.
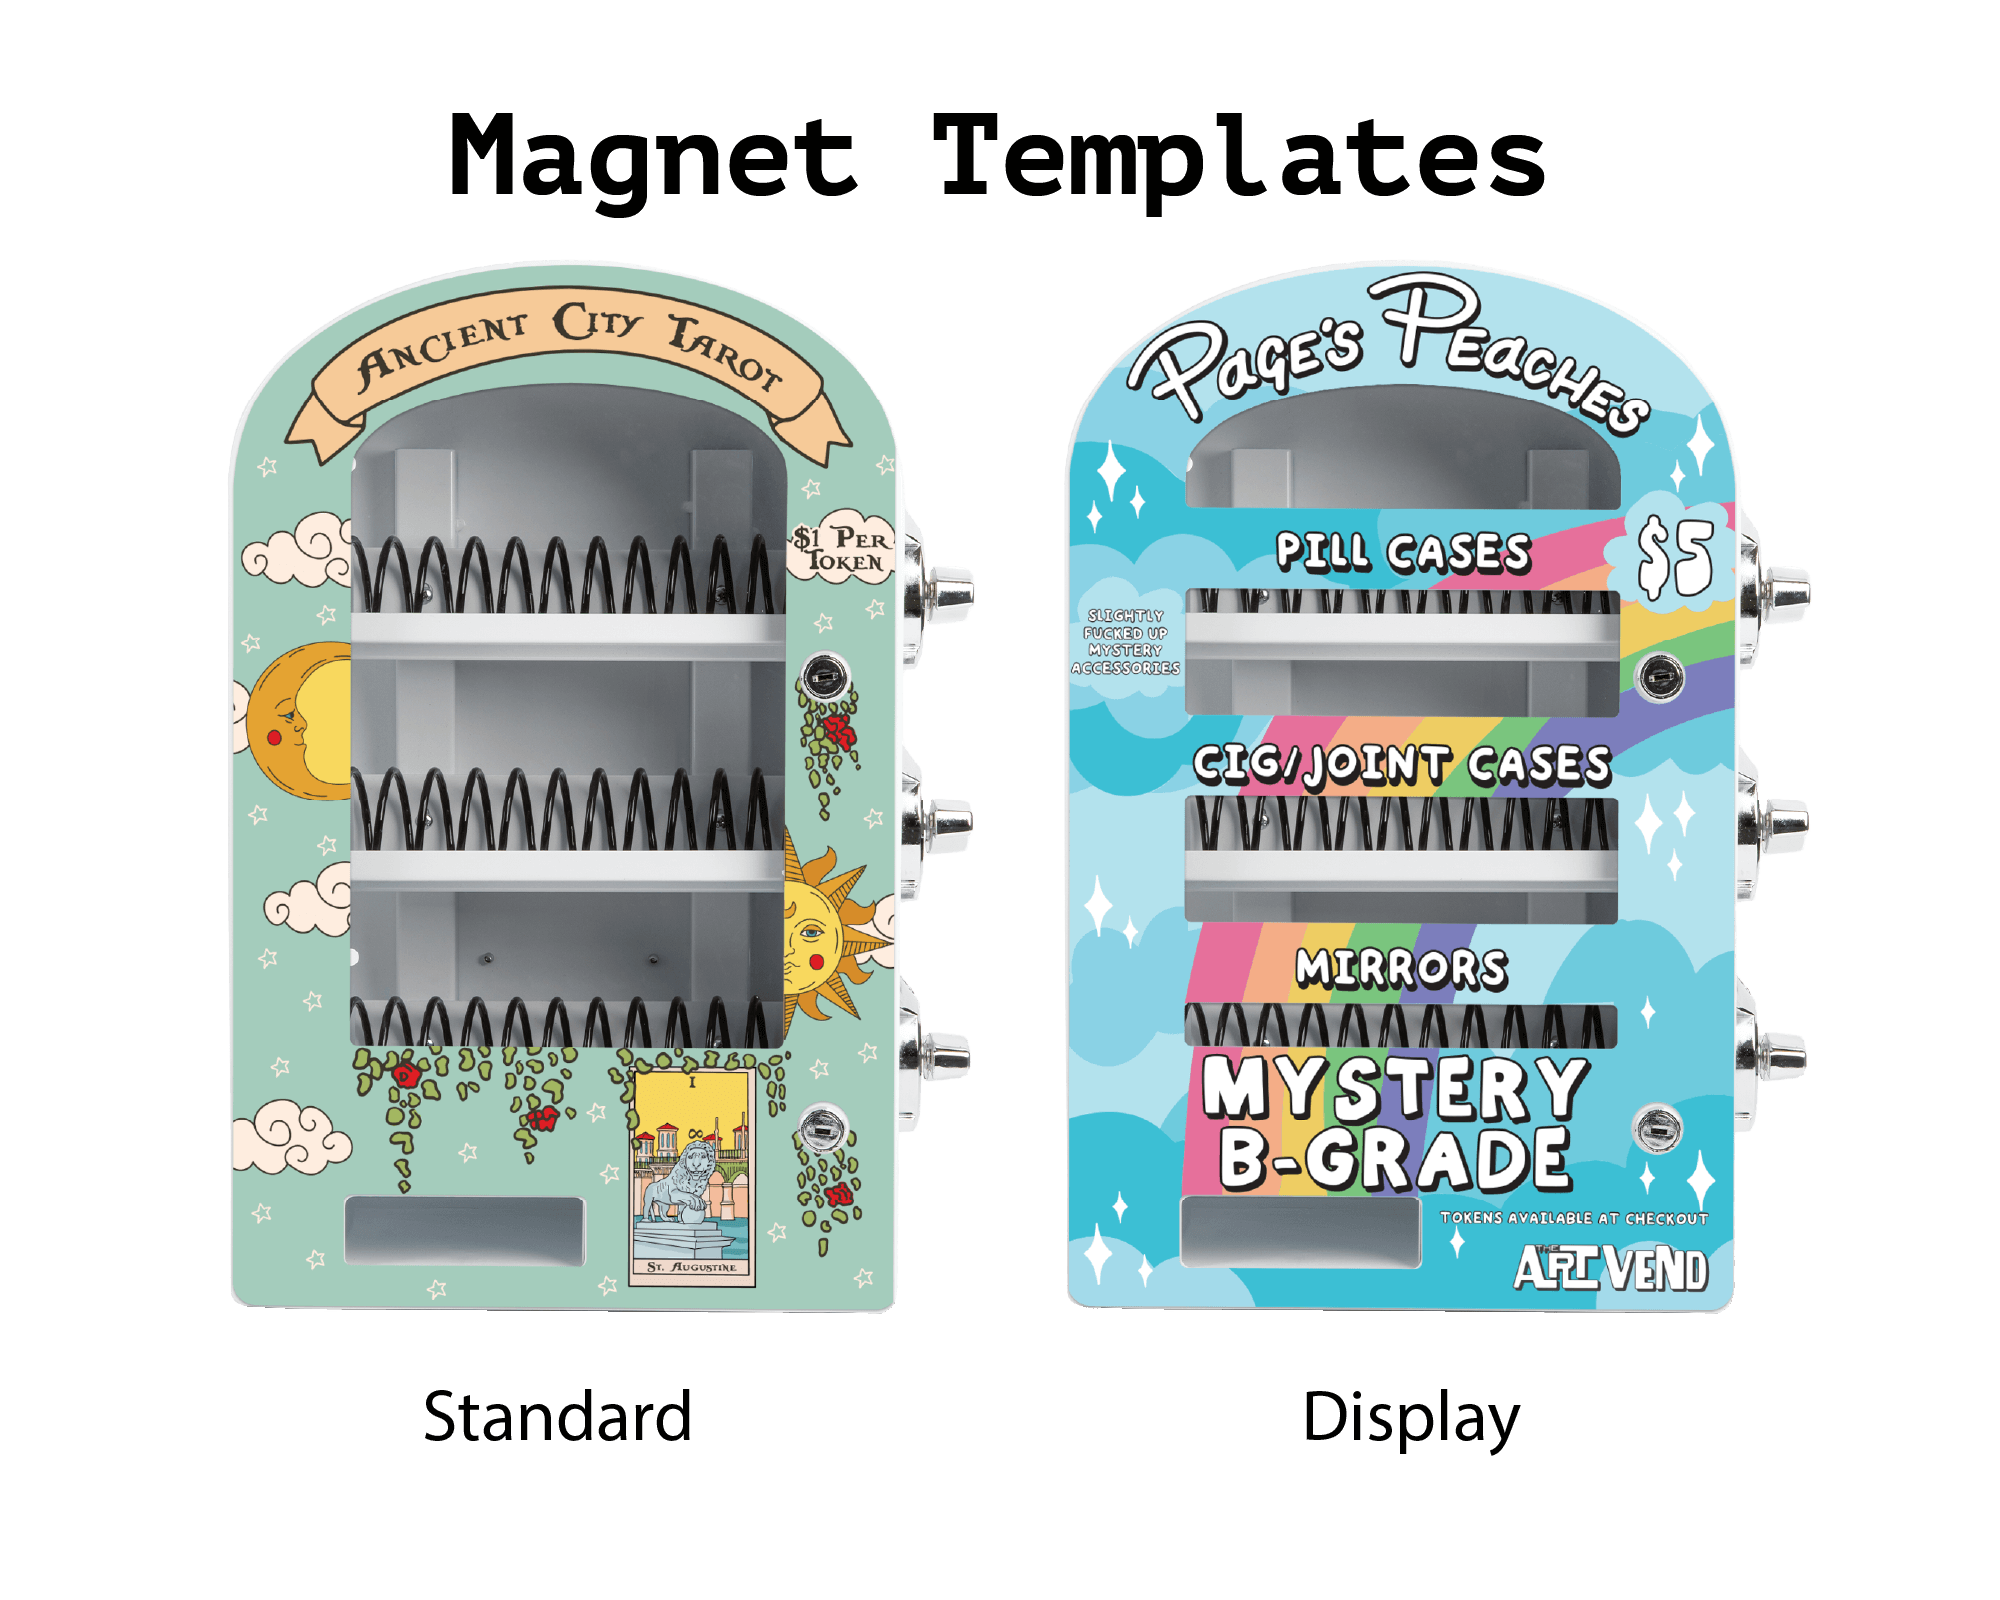
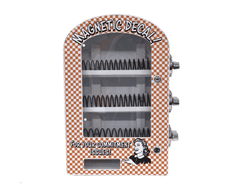
4. Use the Display Magnet for Extra Labeling 🏷️
The ArtVend display magnet is a great tool to label each level and make the window space more interactive.
✅ Helps categorize product levels (e.g., “Pill Cases,” “Stickers,” “Mystery Spins”).
✅ Makes the vending process easier for customers to understand.
✅ Adds another layer of fun and creativity to your machine.
💡 Tip: I love using the window space creatively, it makes the ArtVend feel more fun and engaging!
5. Mix Choice & Mystery for More Sales 🎁
Some customers love to choose their product, while others love the thrill of a mystery spin.
✅ Offer different product types per level (e.g., stickers on one, keychains on another).
✅ Clearly label what’s mystery vs. what’s a set item on the decal or magnet.
✅ Make it visually engaging so customers feel excited to spin!
💡 Tip: Customers often hesitate to pay full price but will gladly buy a discounted mystery spin! Use signage to highlight deals like this.
Your ArtVend decal is more than just decoration—it’s an important tool to help guide customers and boost sales.
📌 Include key info: Pricing, what’s inside, and your brand name.
📌 Use top, side, and retrieval areas strategically.
📌 Make it visually bold but easy to read.
📌 Use the display magnet to label product levels.
📌 Mix mystery and choice-based vending options.
🚀 Want to design your own ArtVend decal? We offer custom design services and templates to help you create a professional, eye-catching machine!
Leave a comment